Cycling Techniques And Drills – To Improve Bike Handling
Page Contents
The following cycling techniques and drills can be incorporated into training rides to help develop and improve road bike handling skills. They are grouped by techniques to apply, and specific drills to practice, during a ride. Be careful when performing these drills, and practice within your level of skill and comfort.
Cycling Awareness
We obviously need to pay attention to the road ahead and the environment around us when cycling. This requires maintaining situational awareness of the roadway ahead, including obstacles in and around the road, shoulder, curb, driveways, and intersections. Cycling also requires paying attention to the environment — including other cyclists, pedestrians, automobiles, and animals — that we encounter.
As you approach an obstacle in the road, try to avoid staring directly at the obstacle or object — you might ride directly into it. Cross-country cyclists, in particular, appreciate this principle. Rather, focus on the path around the obstacle and follow your eyes. When riding in a paceline, point out obstacles in the path that might interfere with riders behind you.
Potholes, debris, rocks, branches, and road-kill are all prime candidates. It is not necessary to point out everything around and off the side of the road — just the obstacles that someone following your wheel might contact.
An additional consideration in a paceline is to avoid fixating on the rear wheel of the cyclist in front of you. Rather, look past them, over their shoulder, at the road and cyclists ahead. Use your peripheral vision to keep your front wheel at the desired spacing.
Relaxation
If you are tense on the bicycle, you will overreact to bumps and dips in the road. When we over-grip the bars and stiffen our arms, the slightest input is amplified. A relaxed grip and loose arms help dampen bumps.
Not only does this make the ride more comfortable, but it also reduces our reaction and subsequent influences on the front wheel, which improves directional control. Think of your arms as shock absorbers to your upper body.
Stiff arms transmit more shock and vibration to the shoulders, while relaxed hands and arms provide natural dampening. You may also fatigue faster when you are tense and over-grip the bars. A good example is how your hands can get noticeably tired after several hours riding off-road without gloves. This is due to constantly gripping the bars to maintain active control over roots, dips, and other off-road obstacles.
A similar effect can occur after 4–5 hours on a road bike if you over-grip the bars. (A tight grip can also “travel,” meaning your shoulders and neck are tensed during the ride — and sore after.) Routinely shake out your hands and roll your neck and shoulders to reduce tension and prevent over-gripping.
Think of the bars as a place to rest your hands. Eventually, the relaxed position will become natural if it is not already. The bike practically steers itself when you have a good position, balance, and control.
Bike Position
The off-season is also a good time to reassess bike fit and position on the bicycle. If you have not had a professional bike fit from a reputable coach or shop, the winter and spring can be a good time to fine-tune your fit before the next season.
Base miles and trainer workouts are a good way to test out a new fit without adversely affecting racing or other event performance. There are several ways to fine-tune your bike fit during a ride without actually adjusting the bars or saddle.
We already do this when we slide forward on the saddle when riding hard in the drops. Referred to as riding “on the rivet” — a homage to the days of riveted leather saddles — sliding forward on the saddle “chokes up” the position, puts more emphasis on the quadriceps, and typically assists in higher-cadence pedalling.
You can get a similar effect without hammering at tempo by simply sliding forward or rearward on the saddle to see how it feels. I recently adjusted my own bike fit to a more forward saddle position after applying this technique. Routinely adjust your hand position when riding to tweak your position.
There are numerous hand positions available, including:
• Gripping or resting on the center of the bars, near the stem
• Gripping or resting on the middle of the bars
• Hands cupped on the top rear corners of the bars
• Web of the hands wrapped around the hoods
• Palms resting forward on the hoods, fingers draped over the levers
• Gripping the drops forward near the levers
• Gripping the drops on the flats Routinely moving the hands also alleviates stress on the palms, fingers, and shoulders.
Comfort in various hand positions can also provide an indication of overall bike fit. If you find a stretched-out position most comfortable, perhaps you could benefit from a longer stem or larger frame size. Conversely, if you cannot comfortably reach the position of palms resting on the hoods, your stem may be too long or the bicycle frame size too large.
Another key indicator is comfort in the drops. If you cannot comfortably ride with hands in the drops, you may need to evaluate raising the handlebars by flipping the stem or adding spacers under the stem. This discussion only touches on a few possible bike position adjustments. The primary point is to take some time during the offseason to reevaluate your bike fit and adjust if needed.
Cycling Smooth Circles
The purpose of the Smooth Circles technique is to help smooth out the pedal stroke and reduce fighting the opposite leg on the uplift of the stroke. Focus on turning with your entire leg, not just mashing down on the pedals.
Concentrate on using the muscles in your upper legs and buttocks. Apply force in the power phase of the pedal stroke, from approximately 1 o’clock to 5 o’clock.
As you transition to the backstroke and upstroke, apply a light pull to lift the pedal. While research has shown that significant power cannot effectively be applied in the upstroke, I believe focusing on Smooth Circles can improve leg extension.
With proper extension and rotation, the hamstrings will be engaged during the power phase, and heel rise can be reduced. Excessive heel rise during the power phase can also overstress the calves, leading to premature fatigue and cramping.
Cycling Heel Sweeps
Exaggerate dropping your heels through the bottom of the pedal stroke to increase effective leg extension and develop more power from the leg muscles. Think of leading with your heels over the top of the pedal stroke to set up the heel drop.
The main goal here is to help reduce heel rise in the power phase. Many cyclists I have seen during bike fittings exhibited a moderate-to-high heel rise of 20 degrees or more, thereby reducing their leg extension. Most of these cyclists did not realize they pedaled with a high heel rise. Rather than raising the saddle to increase leg extension, I recommend first working on reducing heel rise.
An increase in saddle height will increase the frontal area, and subsequently, increase aerodynamic drag. While 17 degrees is not an excessively high heel rise, by focusing on reducing heel-rise, the cyclist increased leg extension to 35 deg without raising the saddle.
Heel Rise
Focusing on Heel Sweeps to minimize heel rise generally provides a noticeable improvement in efficiency, without sacrificing aerodynamics or comfort. The goal is not to have a perfectly level foot since a small amount of heel-rise is natural, but to keep the heel-rise at or below about 15 degrees from horizontal.
Pedal Lifts
The Lifts drill focuses on pulling upward with the feet on the upstroke.. This drill is obviously contrary to Smooth Circles, where we are emphasizing a more efficient and smooth pedal stroke.
Similar to the One-Leg drill discussed later, the Lifts drill is not intended to be consistently applied as a pedal stroke mechanic.
The Lifts drill technique simply involves over-emphasizing the upstroke by pulling up on the pedals from about 7 o’clock to 11 o’clock. When you exaggerate the upstroke and then return to normal pedaling, you can feel the difference it makes.
The difference may not be significant in performance, but it provides an improved perception of where your feet are, and how the pedaling motion should feel The Lifts drill can be applied in long steady straight-aways or during climbs.
On flat roads, you can apply Lifts either seated or standing. When climbing, you will find Lifts most useful when standing. During a long climb, I will briefly stand up and emphasize the up-stroke. After sitting back on the saddle and resuming a normal cadence, pedaling generally feels easier after emphasizing the up-stroke.
Knee Sweeps
The purpose of Knee Sweeps is to remind us to keep our knees inward and in line with the foot. This helps maintain proper biomechanics for consistent pedaling efficiency and reduced potential for knee injuries. Lightly brush the top tube with the inside of each knee during several pedal strokes. This provides feedback to help reinforce maintaining good knee alignment over the pedals.
An alternative to this drill is to attach two long cable ties to the top tube, using the tail to establish a marker for each leg. Rotate the cable ties so each leg is lightly brushing the ties when the knees are aligned vertically over the pedals. This technique is probably best suited for bike fitting or trainer sessions but could be applied to road rides, if needed. As stated, this drill helps counteract the tendency to bow out your knees, which could result in a knee injury. This tendency can also increase with fatigue, so I specifically recommend incorporating this drill into long rides to help maintain proper pedaling form.
Ride the White Line
The purpose of the Ride the White Line drill is to evaluate and practice smooth, straight-line bike handling. I see many new and even experienced cyclists who appear unaware of how erratic their motions are. (Many cyclists refer to this “herky-jerky” form as being “squirrely,” and no one likes to ride with a squirrely cyclist.)
This drill is a quick way to assess your ability to hold a straight line and to practice improving that ability.
Following is the simple technique:
• On a road with a good shoulder and minimal traffic, practice riding the white line on the right side of the roadway.
• Focus on maintaining a stable and stationary torso, with smooth and efficient pedal strokes.
• Practice maintaining a relaxed posture and resting the hands on the bars, without over-gripping. Work up from 1-minute sessions until you can hold the line for 1 km or more. This drill is a good outdoor alternative to riding stationary rollers, which are also very useful for developing balance and control.
Cycling One-Leg
The purpose of the One-Leg drill is to reinforce the range of the pedal stroke where maximum power is developed — between approximately 1 o’clock and 5 o’clock on the crank circle. On a solo ride, on a safe road with minimal traffic, practice riding with one leg. Slow down to a comfortable pace of 16–20 km/h in an easy gear. Unclip one leg and hold it away from the rotating pedal.
Focus on maintaining momentum and a steady pace by pedaling the one leg as evenly as possible through the pedal stroke. Your pace will naturally surge with each downstroke. Remember this feeling when you go back to pedaling with both legs to reinforce the need for smooth and even pedaling.
Start with 30-second intervals and work up to 3 minutes. Repeat for each side, maintaining a smooth pedal stroke and holding a straight line.
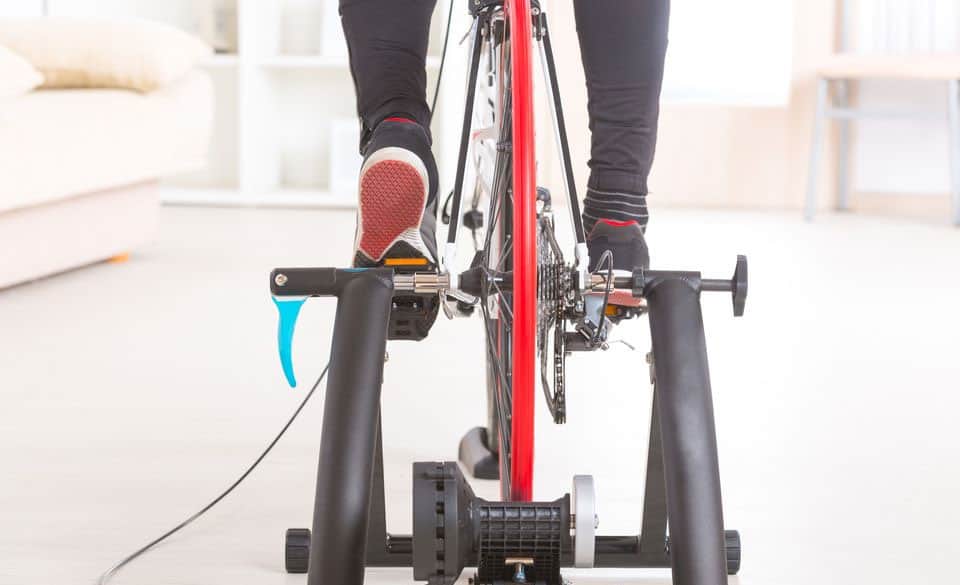
This is also a good drill for the stationary trainer. While there is some controversy over the value of one-legged drills, I believe they are useful to identify and correct poor pedal stroke mechanics.
Refining the ability to pull the foot through the bottom of the pedal stroke and over the top should improve the full pedal stroke. One-Leg drills can also help identify major leg strength imbalances.
I suffered a severe left hamstring strain training for a marathon 20 years ago. I have a natural tendency to favor the left hamstring, resulting in a “dead spot” when I transition from the power phase to the backstroke at about 6 o’clock.
The difference in left and right pedal motion is obvious when running One-Leg drills but averaged out during normal pedaling. Practising One-Leg drills reminds me to pull the left pedal back and up. Without this reminder, I revert to over-compensating with the right leg.
You might have a leg strength imbalance if you find it significantly harder to maintain a higher speed or experience a longer “dead spot” on one side. Use the offseason to work on single leg strength exercises including lunges, leg presses, leg extensions, leg curls, and One-Leg cycling drills.
Cycling One-Hand
The purpose of the One-Hand drill is to develop and refine your ability to control the bicycle with one hand, which requires more refined control, smaller motions, and less over-correction. One-handed control is required not only when you take a drink or eat a snack, but in the emergency situation where you hit an obstacle and one hand slips from the bars. For these One-Handed drills, the following progression of hand placement is recommended:
• Hand on top of the bars, near the stem
• Hand draped over the brake hood
• Hand in the drops Starting with the one hand on top of the bars near the stem is recommended because this reduces the effects of your movements on steering.
This is why, when eating or drinking and steering with one hand, we typically recommend placing the hand near the stem. It provides the most stable position. I recommend practising One-Hand drills on the hoods and in the drops, as well, to experience how it feels — and how the bike reacts to your movements — in those positions. The goal is to be comfortable and capable of reaching for a drink from any hand position. Fast recreational riding and racing require this level of control.
• Ride at a comfortable pace with hands on the hoods.
• Remove one hand and rest it on your hip. • It may be easiest to start by resting the hand you favor for grabbing a water bottle. (This is recommended because you are probably naturally accustomed to riding one-handed with the opposite hand than you drink with.)
• Start with 20-second One-Hand drills and work up to 2 minutes or more, alternating hands.
• Repeat with each hand from the tops of the bars near the stem, on the hoods, and in the drops.
• This drill is improved by riding on the white line for visual feedback of your stability.
One-Hand Drill Hand Positions
Steering the bicycle with one hand will amplify any existing issues with poor handling skill on one or both sides. Practising and developing the “feel” and motor skill to steer the bicycle with one hand will naturally improve your ability to control it with two hands. As you improve, incorporate this drill into your daily rides by simply alternating the drinking hand. It may seem uncomfortable at first, which is an indication of instability and opportunity to improve.
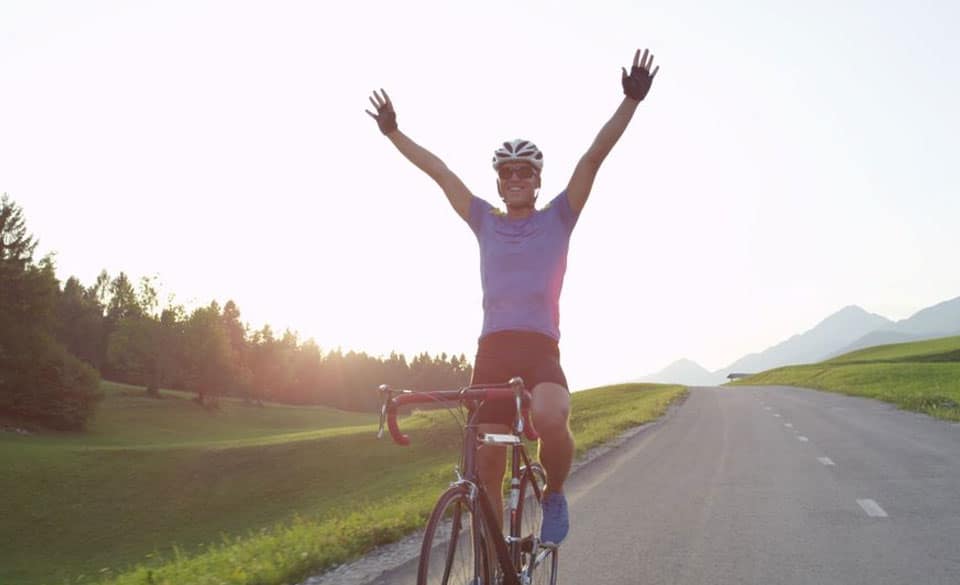
Cycling Hands-Free
Riding hands-free carries obvious risks, and may even violate your local or state statutes and regulations. Please exercise this drill safely. I recommend practising in your neighbourhood or a parking lot, away from traffic, until you develop balance and control.
Following is a basic approach to practicing Hands-Free riding:
• Start at a comfortable pace, say 16–20 km/h, and shift up two harder gears. The added resistance will make it easier to steer the bike with your hips.
• Sit upright, move your hands to the top of the bars, and relax your grip to fingertip pressure.
• Keep pedalling and remove your hands from the bars while steering with your hips.
• Use your core for stability, sit upright, and keep your head up and eyes forward.
• Use only small inputs from your hips and pressure on the pedals to steer the bike.
• When you are ready to regain active control of the bike, place your hands slowly and lightly back on the tops of the bars. Riding hands-free can be useful during long rides, in order to stretch, remove clothing, etc. — but use it sparingly. Even a small input can upset your balance. When you can comfortably ride hands-free in a smooth, straight line for extended periods, you have developed excellent bicycle control.
Training Ride Drills Summary
These techniques and drills can be practised year-round during solo or group rides to improve road bike handling skills. They are especially useful for off-season training, and for breaking up the monotony of indoor trainer rides.
A summary table of these training ride techniques and drills is included in Appendix A for quick reference. Next, we will discuss several focused drills that can be practised solo or in a group setting to further develop and improve road bike handling skills.


